Plush Tetrapod
The cutest sea defense structure, now even more huggable
- posted:
Tetrapods are shaped like a friend, and pose an adequately-challenging sewing project.
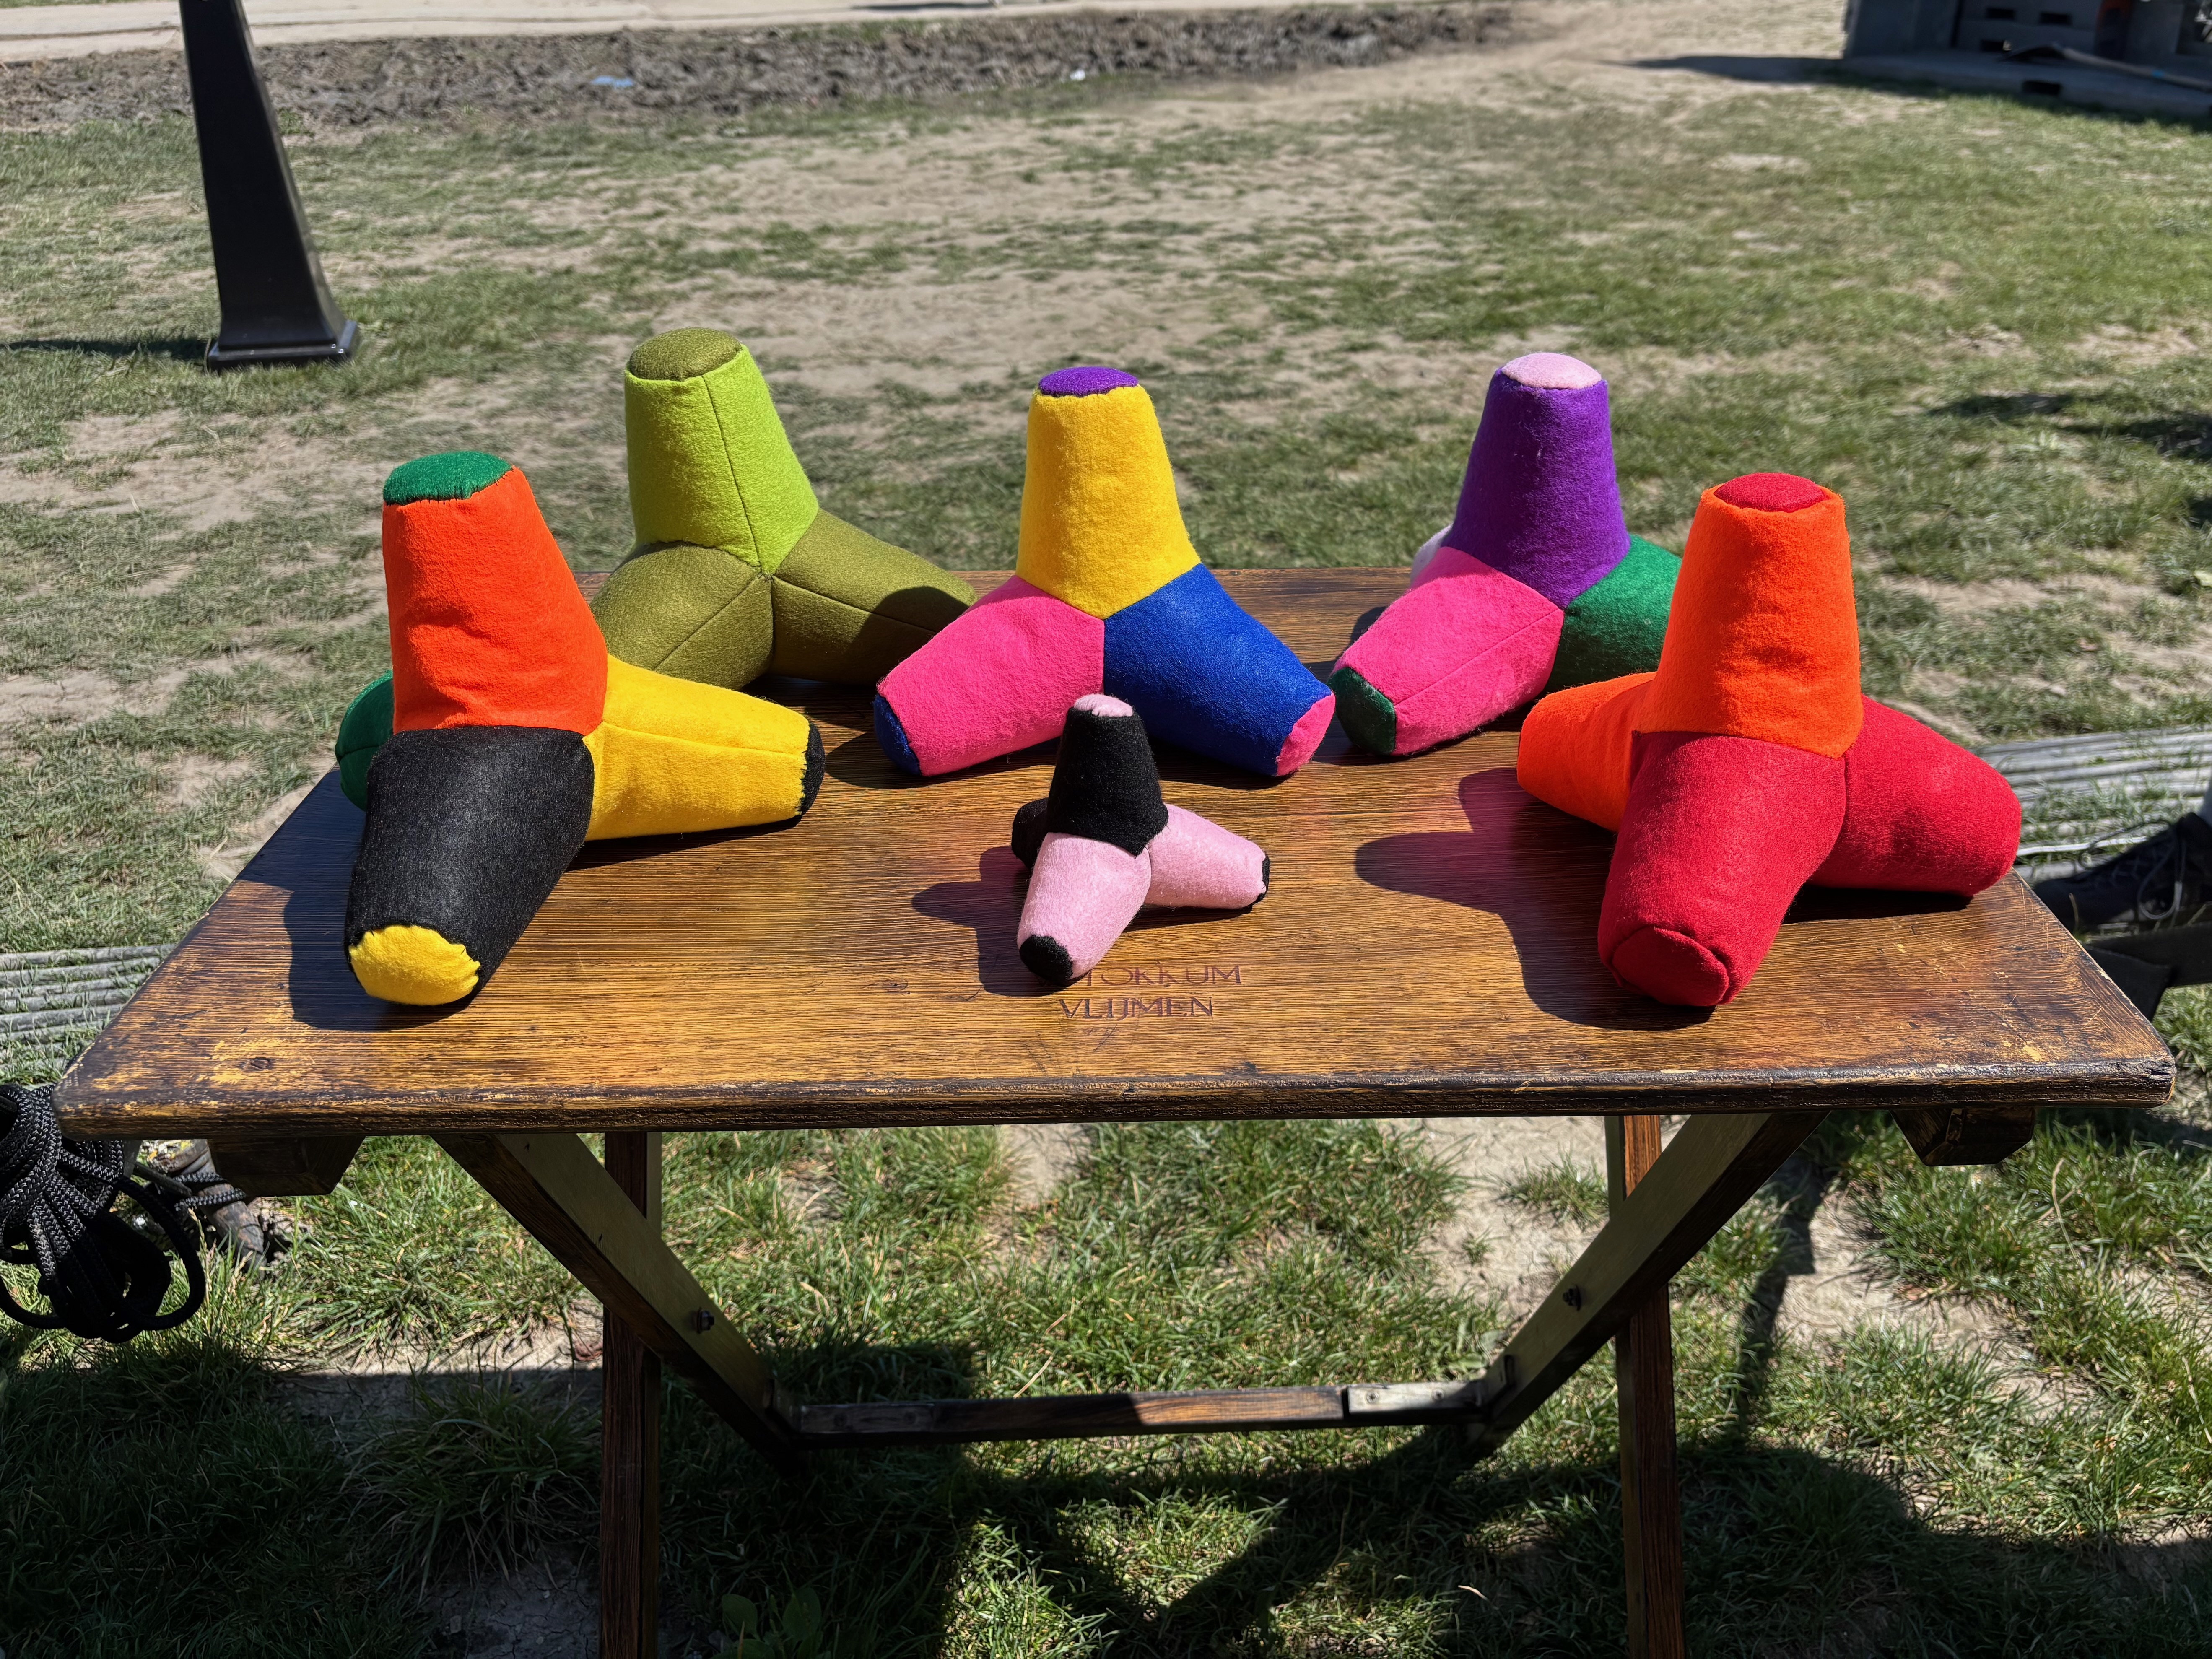
- A cluster of tetrapods born into being by the participants of the WHY2025 workshop.
Here is an approximate 3D model of a tetrapod, created with OpenSCAD. You can view/edit it in OpenSCAD Playground.
Show OpenSCAD source
 1
 2
 3
 4
 5
 6
 7
 8
 9
10
11
12
13
14
15
16
17
$fs = 0.01;
$length = 10;
$radius_bottom = 4;
$radius_top = 2;
$angle = acos(-1/3);
union() {
    for(rx = [
        [0,0,0],
        [0,$angle,0],
        [0,$angle,120],
        [0, $angle, -120]
    ]) {
        rotate(rx)
            translate([0,0,$length/2])
                cylinder(h=$length, r1=$radius_bottom, r2=$radius_top, center=true);
    }
}
The origins
While at 38C3 I had the idea for a plush tetrapod. I was still thinking about it when I came home, so I had a go at making one, which was pretty successful!

- The original prototype
As as there is nothing new under the sun, I was able to find some prior art and a pattern from Almar Joling. I printed it out and cut out the paper templates, then used them to draw on to the felt, which I then cut out with scissors.
The pattern did not come with any suggested order however, so I somewhat haphazardly put one together. This was a little mind-bending to start with but it worked out! The refined procedure I wish I had is below.
The workshop
- good fun
- oversubscribed
- ran hilariously over-time, and
- (going by the number of produced tetrapods) quite a success!
In preparation, I brought:
- 4 sets of tetrapod part templates, graciously laser cut from cardboard by jarkman.
- A large number of cheap sewing needles in various sizes
- Several “self healing cutting mats”
- Several scalpels and a fabric cutting wheel (sharp)
- 4 sewing machines
- of which 3 borrowed (with many thanks to Serendiep)
- of which 1 started smoking when switched on, which made for a dramatic opening to the workshop
- Scissors
- Needle threaders and thread cutters
Some learnings:
- It takes many folks much longer than two hours, although some of this was due to…
- There are some big bottlenecks, some of which are easier/cheaper to alleviate:
- Templates are cheap (so long as you have laser cutter access) - you may as well make one set for every participant in the workshop.
- Similarly, cutting mats and cutting tools are pretty cheap too. To save even more time and given the cutting-out process is the least interesting part, you could provide pre-cut parts.
- Sewing machine availablility becomes quite limiting, especially when folks haven’t used one before. There were quite a few people waiting on them, and some people just opted to hand sew the whole thing instead.
- Clear instructions for how to sew the parts together are very important. A good visual representation might help.
How to build your own
So then, here’s how I’ve been making tetrapods. It’s almost certainly not the only way you can put them together, but it works for me.
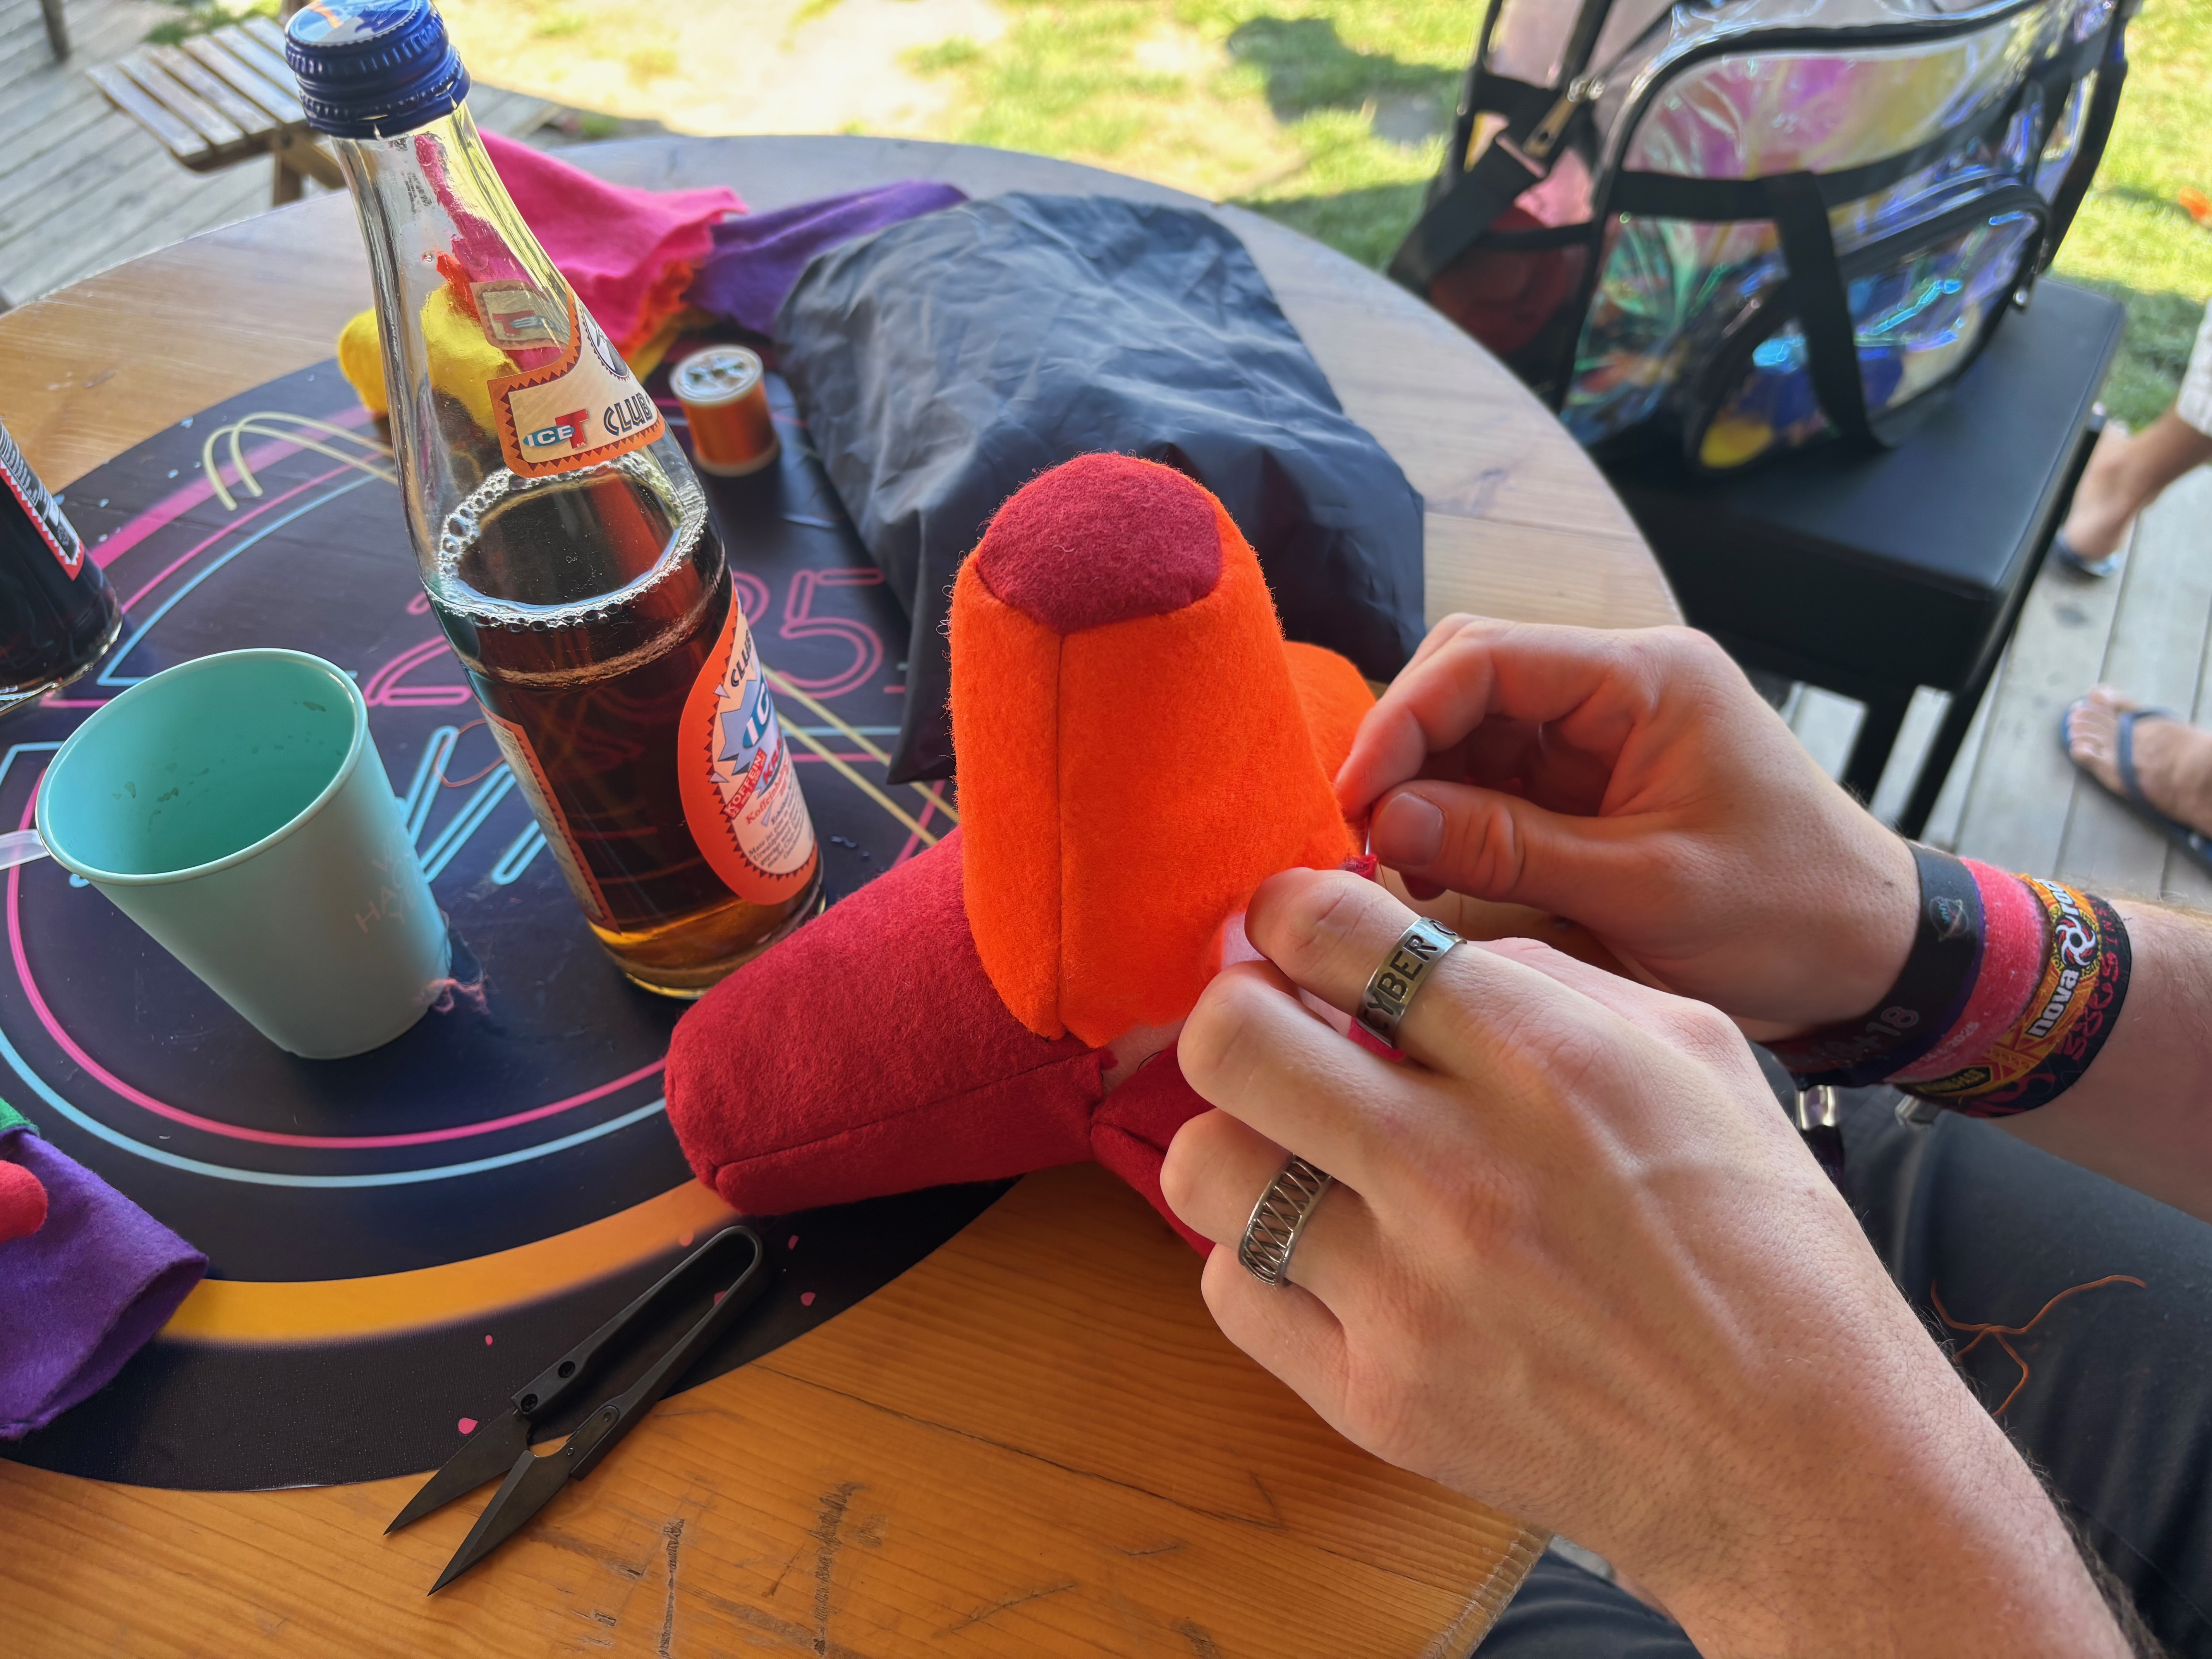
The general approach is to sew it together inside out with a machine and/or hand sewing, and then invert it before fully closing it up. This hides all the seam allowance and makes for a neat exterior.I use the standard straight stitch on the machine and a backstitch by hand.
- Cut out the parts using the template. Here is a DXF, traced from the pattern mentioned above. If you have a stiffer card template you might be able to place it on top of the fabric and use it as a guide directly. Otherwise, you probably want to draw around it with a pen/marker of some kind and then cut around that. The UV unwrapped tetrapod comprises of two parts, which I call the “Bat wing” and the “Circle”. You need 4 of each.
- Pick one batwing as the base, and sew the other three to it along one of the curves of their wings.
⚠️ heads up - Close up the long straight edges of each of the 4 wings to form the leg tubes
⚠️ heads up again - Sew the circles into the ends of the tubes to form the legs proper. I did this by hand, but others have done it on machines!
- Sew 2 of the remaining 3 bat wing edges together, leaving the last one open.
- Tidy up/reinforce any seams - In particular the corners where the batwings join.
- Invert the tetrapod through the open seam. Final check for any visibly messy or loose stitches from the outside.
- Stuff it with your chosen stuffing. I’ve used polyester soft toy stuffing, but many things would likely work.
- Close the open seam by hand with a ladder stitch (also known as an invisible stitch or slip stitch).
- Marvel in what you have created.
If you’ve made a tetrapod or have any questions feel free to reach out!